Crosman hollow probe build |
Post Reply 
|
Page <1 234 |
| Author | |
kruzaroad 
Senior Member 

Joined: 03 Jul 2022 Location: Hastings 4 now Status: Offline Posts: 3016 |
 Post Options Post Options
") Thanks(0) Thanks(0)
 Quote Reply Quote Reply
 Posted: 11 May 2023 at 5:07am Posted: 11 May 2023 at 5:07am |
|
Would not the easiest way to line the hole be to make the bolt/probe minus the hole, then with the breach attached to the barrel, lock the bolt shut turn the breach and barrel upside down in a vice, aline it and with a drill press, drill it to just shy of actual circumference needed then finish it off out of breech. This to me would eliminate the need to have to work out angles, as the hole is drilled at the correct point for the locked position of the bolt.
I love the tapered edge for end of probe. Assuming that pellet skirts are even and not causing a lockup against the barrel, I imagine that air/CO2 will after the initial push starting the pellet, push back causing the skirt to flare nicely with good pressure. Be keen to hear results when done. Looks like I might be ditching the extended probes I have which are awsome for your design if they work well. And of course if I can persuade you to make me a couple. |
|
 |
|
|
nunga
Admin 

Joined: 09 Mar 2013 Location: Pukekohe Status: Offline Posts: 1123 |
Post Options
Thanks(0)
Quote Reply
Posted: 11 May 2023 at 4:57am |
|
I would be interested to see how much it cools down per shot due to the CO2 expanding at a faster rate. Looks good!
|
|
|
2nd place HP springer - WFTF World Championships 2014
|
|
|
|
|
Billbobnz
Senior Member
Joined: 14 Jun 2020 Location: Ashburton Status: Offline Posts: 938 |
Post Options
Thanks(0)
Quote Reply
Posted: 11 May 2023 at 3:04am |
|
wow great work Paul, let use know if you get any increase of power when you test shooting it
|
|
|
|
|
Pauly5
Forum Moderator 
Joined: 11 Mar 2013 Location: Titahi Bay Status: Offline Posts: 1742 |
Post Options
Thanks(0)
Quote Reply
Posted: 10 May 2023 at 4:11pm |
|
With new enthusiasm I started making a couple of new hollow probes. These allow the air or CO2 to travel up and act directly into the back of the pellet. The other design factors i've included are a tapered edge that fits inside the pellet skirt and enough length that it seats the pellet past the transfer port into the breech. I tapered the edge so that it should help engage the skirt with the rifling and so create a good seal.
I will let the photos do the talking, but this is progress so far. First photo shows the main profile and O ring groove formed 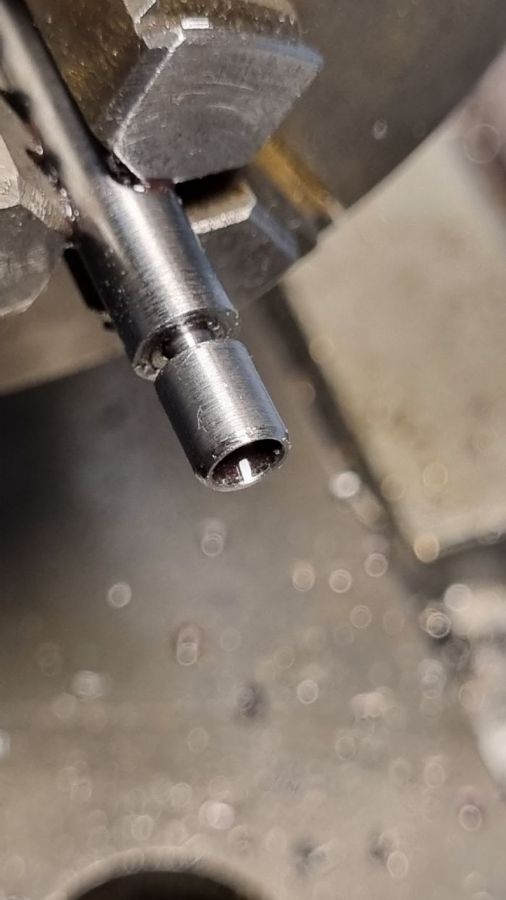 Here you can see the probe halfway across the TP, and second photo shows a clear passage through probe.  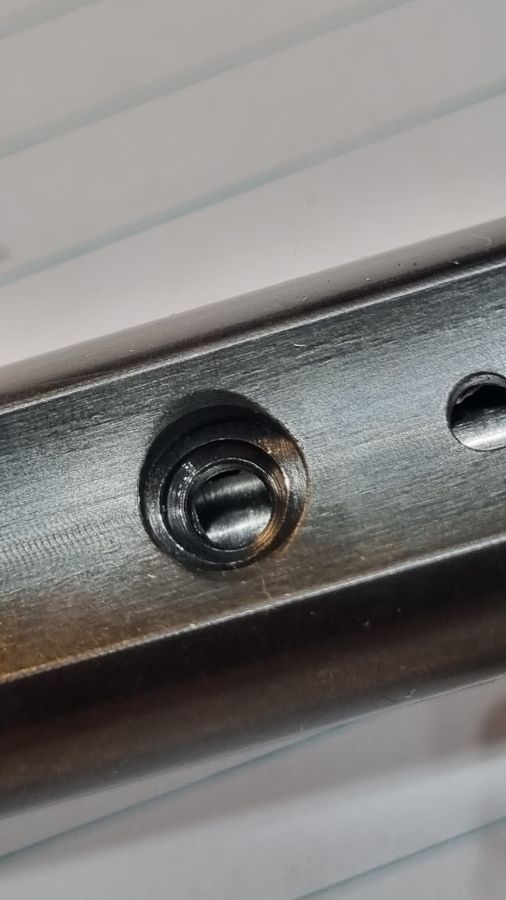 The next couple are various angles of the hollowed out probe. I still need to workout the bolt hole angle and placement so that the hole lines up with the transfer port when pushed home. 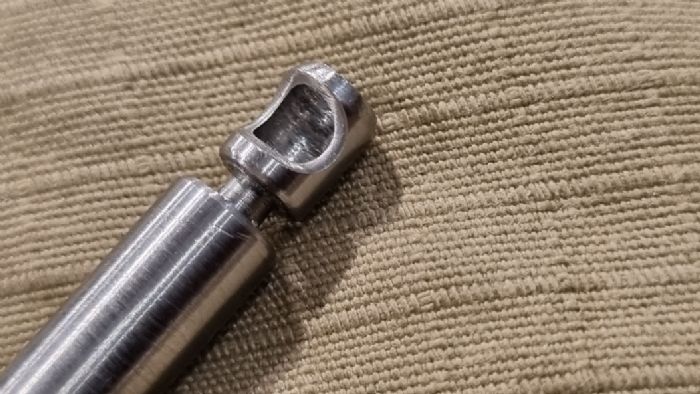 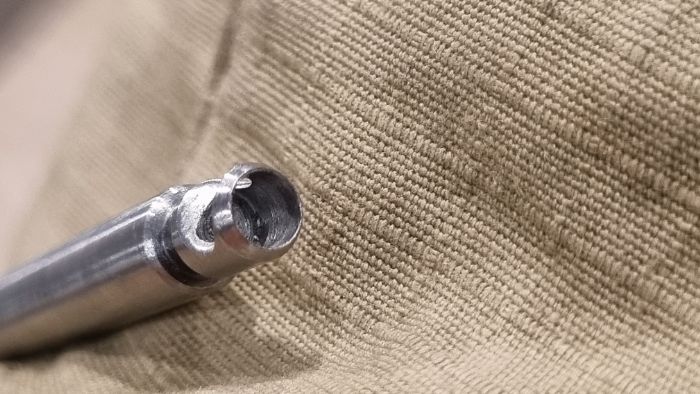 One more showing how the taper fits into the pellet skirt. 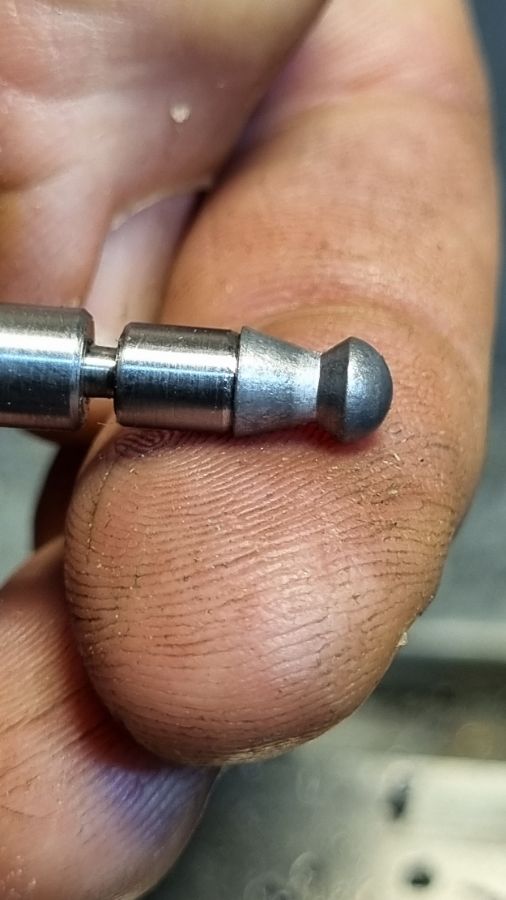 |
|
|
|
|
Post Reply
|
Page <1 234 |
 Tweet
Tweet
|
| Forum Jump | Forum Permissions You cannot post new topics in this forum You cannot reply to topics in this forum You cannot delete your posts in this forum You cannot edit your posts in this forum You cannot create polls in this forum You cannot vote in polls in this forum |


 Topic Options